Cleanfield - No-Intro and Clean Menu Fix
🟡 Updated this year⚠️ Install Order · 2 steps
Install in this order, then this mod last — most mods fail to load without their framework and dependencies in place.
Preview
🔍 Analysis
- 👍 2.1% endorsement rate — high engagement, a strong quality signal
- 🏆 #3 of 192 User Interface mods in this game by downloads
📋 About This Mod
✦ CLEANFIELD
by Gametism
✦ DESCRIPTION
No-Intro and Clean Menu Fix
✦ INSTALLATION
1. Download and extract files (standard method):
Copy "StarfieldCustom.ini" to the "Documents\My Games\Starfield" folder
Add the necessary lines to your existing "StarfieldCustom.ini"
Inside the ZIP there is a folder called Options. This folder has 2 options to choose from:
Keep Starfield Logo
Remove Everything
Inside each of these options you'll find a "Data" folder.
Pick one and unpack the "Data" folder to:
Steam-Version: X\Steam\steamapps\common\Starfield
Microsoft-Store-Version: X\XboxGames\Starfield\Content
For some users it also seems to help to copy the "Data" folder to: "Documents\My Games\Starfield"
There is conflicting information out there about the process Game Pass users, please see comments for discussion, there are 2 or 3 solutions floating around that seem to work for some people.
2. Configure your INI to load loose files:
In the same directory you extracted or moved files to in the previous step, you may find a file named StarfieldCustom.ini. If this file does not exist, you must create it using a text editor. Add the following lines to this file:
bInvalidateOlderFiles=1
sResourceDataDirsFinal=
sIntroSequence=
uMainMenuDelayBeforeAllowSkip=0
✦ MOD ORGANIZER 2 USERS
MO2 may use its own profile-specific
StarfieldCustom.ini
If the mod isn't working, make sure the required INI lines are also present here:
%userprofile%\AppData\Local\ModOrganizer\Starfield\profiles\Default\StarfieldCustom.ini
If you're using a different MO2 profile, replace Default with your profile name.
A lot of people are having trouble with this file, so something you can also try is adding bInvalidateOlderFiles=1 directly to the Starfield.ini that is present in the same folder as the EXE. Add it under
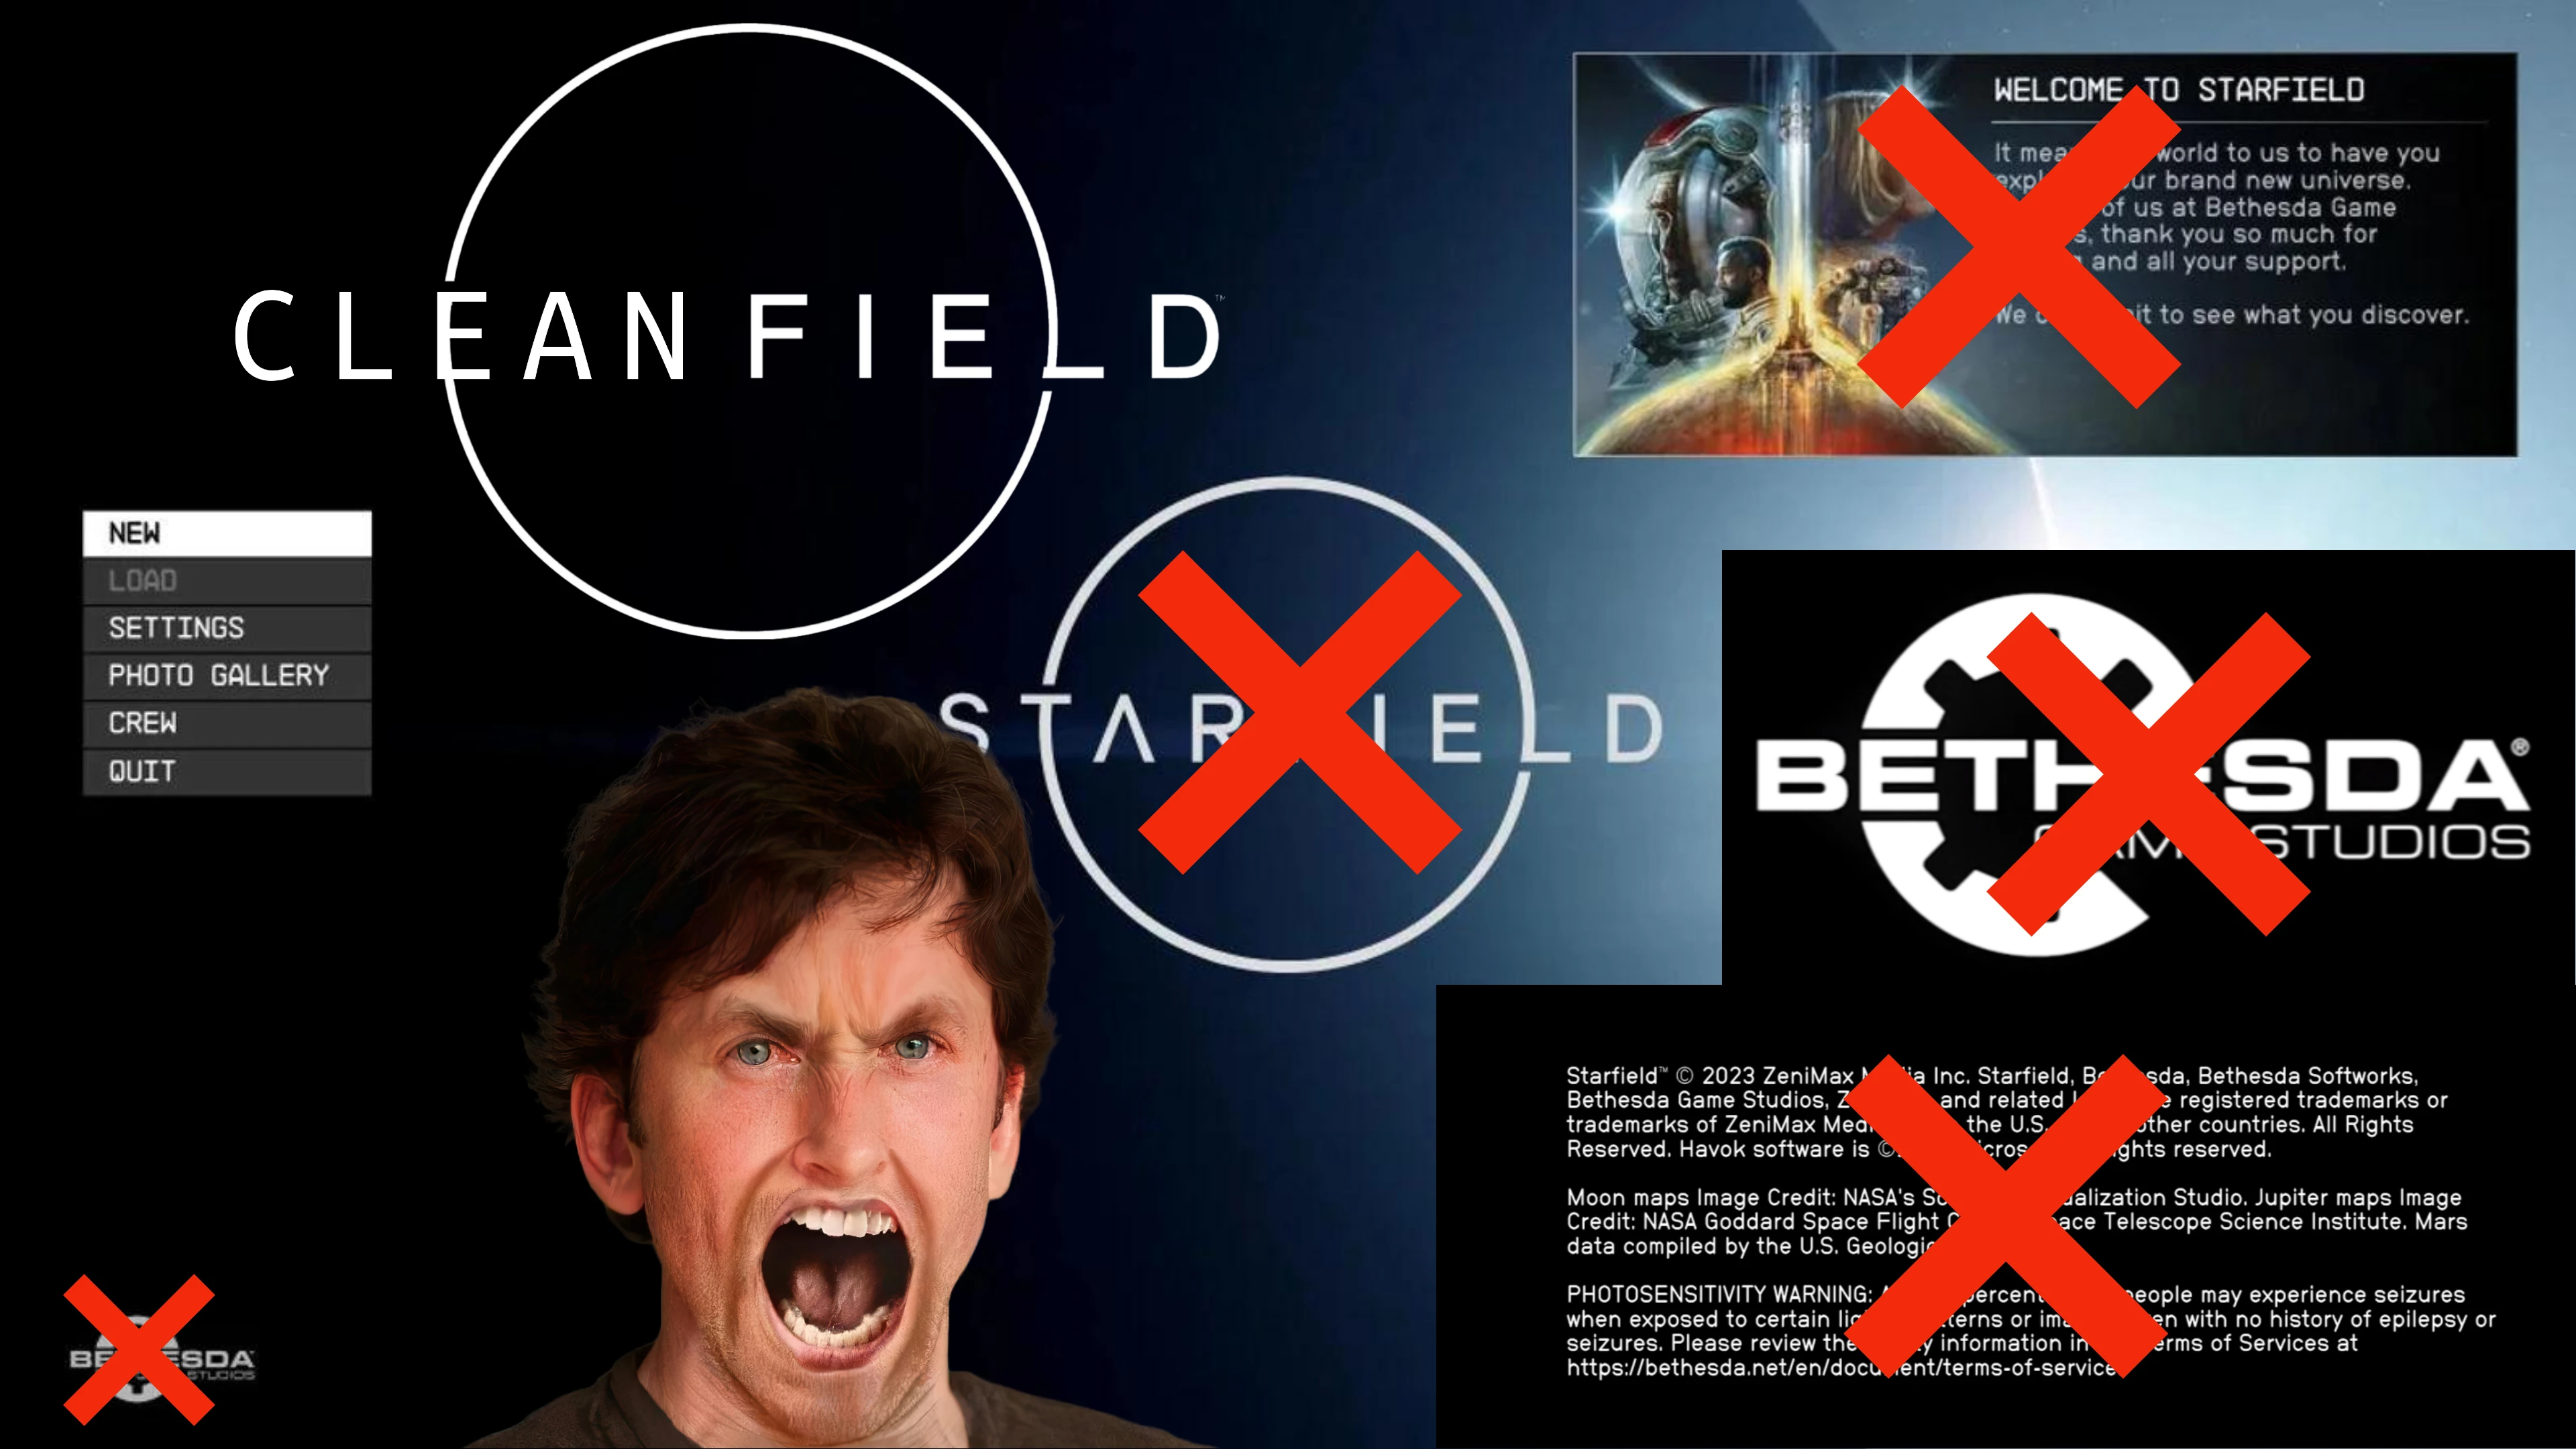
Cleanfield removes the epilepsy warning, Bethesda logo videos, message of the day, and Starfield logo, and unlocks 120 FPS. A UI overhaul for players who want faster startup and fewer interruptions, with strong community support (12,320 endorsements).
✨ Key Features
📊 Pros & Cons
✅ Pros
- Huge community trust (12,320 endorsements) — this is a must-have for UI tweaks
- Cuts through all the intro clutter, getting you into the game faster
- 120 FPS unlock is a game-changer for high-refresh-rate monitors
⚠️ Cons
- Removing logos and warnings might violate some modding guidelines, so check your stance
- Last updated April 2026 — could break with future game patches
For Starfield players who hate sitting through logos and want a snappier launch. Also for anyone with a 120Hz+ monitor who wants to push past the 60 FPS cap. Skip if you're fine with the default intro and don't care about FPS limits.
💡 Beginner Tips
- Make sure to back up your original game files before replacing anything, just in case.
- If you're using a mod manager, install this mod through it to keep track of updates.
- Check if the 120 FPS unlock works with your monitor's refresh rate — you might need to enable it in your display settings.
📊 Mod Details
- Game
- Starfield Mods
- Author
- Gametism
- Version
- 1.9
- Downloads
- 593,047
- Endorsements
- 12,320
- Category
- User Interface
- Created
- 8/31/2023
- Updated
- 4/12/2026
🔧 How to Install Starfield Mods
Download from Nexus.
📖 Full step-by-step install guide for Starfield →
Visit the official mod page for specific installation instructions for this mod.
🎮 Need cheat codes or console commands? Check ur gaming wiki for Starfield commands, item IDs, and more.
Keep browsing — more Starfield mods await