Image Shader
🟠 Updated over a year ago🖼️ Gallery (7 images)
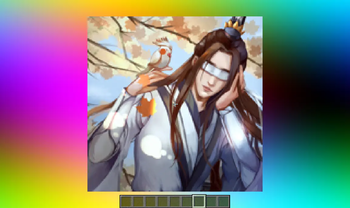
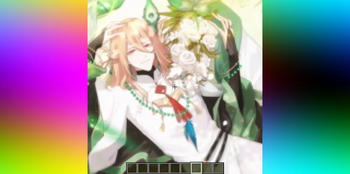
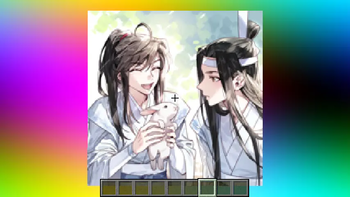
🔍 Analysis
- 👍 0.1% endorsement rate
- 🏆 #31 of 85 cursed mods in this game by downloads
📋 About This Mod
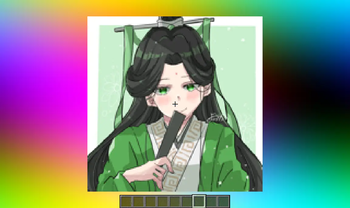
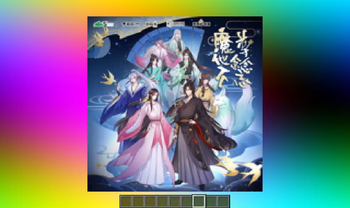
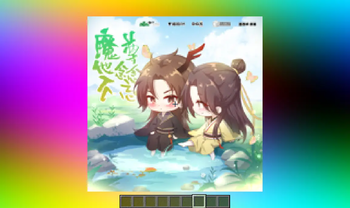
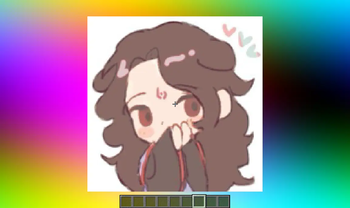
# Image Shader Only use a shader to display an image on your screen~ **Note: compiling the shader may take some time!** !(https://cdn.modrinth.com/data/cached_images/d9b5a9d9e90d1b2127f6b31b6c14b63c00853b09.png) ### How to prepare a custom image~ First, use ffmpeg (or any tool) to resize your image to **160×160 pixels**. ```bash Using ffmpeg: ffmpeg -i Input.png -vf scale=160:160 image.png ``` Then place the resized image in the same directory as the Python script below. Run the script to produce an `image_chunks` folder, then copy the 16 **.glsl files** inside into `shaders/data/image_chunks` (you need to unpack the shader pack first). Enter the game, enable the custom image option in the shader settings, and wait for the shader to finish compiling — Then it's ok~ <details> <summary>A Python Script</summary> ```python from PIL import Image import os def generate_glsl_chunks(image_path, output_dir="image_chunks"): try: img = Image.open(image_path).convert('RGBA') except FileNotFoundError: print(f"Error: Image file not found at {image_path}") return width, height = img.size if width != 160 or height != 160: print(f"Error: Image must be 160x160 pixels, but it is {width}x{height}.") print(f"You can use:") print(f"ffmpeg -i image.png -vf scale=160:160 output.png") print(f"to adjust the image resolution.") return os.makedirs(output_dir, exist_ok=True) chunk_size = 40 num_chunks_x = width // chunk_size num_chunks_y = height // chunk_size for chunk_y in range(num_chunks_y): for chunk_x in range(num_chunks_x): left = chunk_x * chunk_size upper = chunk_y * chunk_size right = left + chunk_size lower = upper + chunk_size sub_img = img.crop((left, upper, right, lower)) pixel_data = list(sub_img.getdata()) array_name = f"image_data_{chunk_y}_{chunk_x}" output_file_path = os.path.join(output_dir, f"{array_name}.glsl") glsl_array = f"vec4 {array_name} = vec4(\n" for i, pixel in enumerate(pixel_data): r, g, b, a = pixel glsl_array += f" vec4({r/255.0}, {g/255.0}, {b/255.0}, {a/255.0})" if i < len(pixel_data) - 1: glsl_array += "," if (i + 1) % 4 == 0: glsl_array += "\n" glsl_array += ");\n" with open(output_file_path, 'w') as f: f.write(glsl_array) print(f"Generated file: {output_file_path}") # --- Config --- image_file = "image.png" output_directory = "image_chunks" generate_glsl_chunks(image_file, output_directory) ```
# Image Shader Only use a shader to display an image on your screen~ Note: compiling the shader may take some time!
!(https://cdn.modrinth.com/data/cached_images/d9b5a9d9e90d1b2127f6b31b6c14b63c00853b09.png)
### How to prepare a custom image~ First, use ffmpeg (or any tool) to resize your image to 160×160 pixels.
```bash Using ffmpeg: ffmpeg -i Input.png -vf scale=160:160 image.png ```
Then place the resized image in the same directory as the Python script below. Run the script to produce an `image_chunks` folder, then copy the 16 .glsl files inside into `shaders/data/image_chunks` (you need to unpack the shader pack first). Enter the game, enable the custom image option in the shader settings, and wait for the shader to finish compiling — Then it's ok~
A Python Script
```python
from PIL import Image
import os
def generate_glsl_chunks(image_path, output_dir="image_chunks"): try: img = Image.open(image_path).convert('RGBA') except FileNotFoundError: print(f"Error: Image file not found at {image_path}") return
width, height = img.size if width != 160 or height != 160: print(f"Error: Image must be 160x160 pixels, but it is {width}x{height}.") print(f"You can use:") print(f"ffmpeg -i image.png -vf scale=160:160 output.png") print(f"to adjust the image resolution.") return os.makedirs(output_dir, exist_ok=True) chunk_size = 40 num_chunks_x = width // chunk_size num_chunks_y = height // chunk_size
for chunk_y in range(num_chunks_y): for chunk_x in range(num_chunks_x): left = chunk_x chunk_size upper = chunk_y chunk_size right = left + chunk_size lower = upper + chunk_size sub_img = img.crop((left, upper, right, lower)) pixel_data = list(sub_img.getdata())
array_name = f"image_data_{chunk_y}_{chunk_x}" output_file_path = os.path.join(output_dir, f"{array_name}.glsl")
glsl_array = f"vec4 {array_name}[{chunk_size chunk_size}] = vec4[{chunk_size chunk_size}](\n" for i, pixel in enumerate(pixel_data): r, g, b, a = pixel glsl_array += f" vec4({r/255. 0}, {g/255. 0}, {b/255. 0}, {a/255. 0})" if i < len(pixel_data) - 1: glsl_array += "," if (i + 1) % 4 == 0: glsl_array += "\n" glsl_array += ");\n"
with open(output_file_path, 'w') as f: f.write(glsl_array) print(f"Generated file: {output_file_path}")
# --- Config --- image_file = "image.png" output_directory = "image_chunks"
generate_glsl_chunks(image_file, output_directory)
📊 Mod Details
- Game
- Minecraft Shaders
- Author
- lanzhan5656
- Version
- 1.0.0
- Downloads
- 5,936
- Endorsements
- 3
- Category
- cursed
- Created
- 9/12/2025
- Updated
- 9/12/2025
- Game Versions
- 1.16, 1.16.1, 1.16.2, 1.16.3, 1.16.4
- Tags
- cursed, fantasy, screenshot
🔧 How to Install Minecraft Shaders Mods
Download from Modrinth. Use Prism Launcher or drop into your mods folder.
📖 Full step-by-step install guide for Minecraft Shaders →
Visit the official mod page for specific installation instructions for this mod.
🎮 Need cheat codes or console commands? Check ur gaming wiki for Minecraft Shaders commands, item IDs, and more.
❓ Frequently Asked Questions
Which Minecraft Shaders versions does Image Shader support?
The author lists 1.16, 1.16.1, 1.16.2, 1.16.3, 1.16.4, 1.16.5. Other versions may work but are untested by the author.
What is the latest version of Image Shader?
Version 1.0.0, published 2025-09-12 with 5,936 downloads recorded at the source.
Keep browsing — more Minecraft Shaders mods await