Well Greased
🟡 Updated this year⚠️ Install Order · 2 steps
Install in this order, then this mod last — most mods fail to load without their framework and dependencies in place.
🖼️ Gallery (4 images)
🔍 Analysis
- 🏆 #193 of 254 decoration mods in this game by downloads
📋 About This Mod
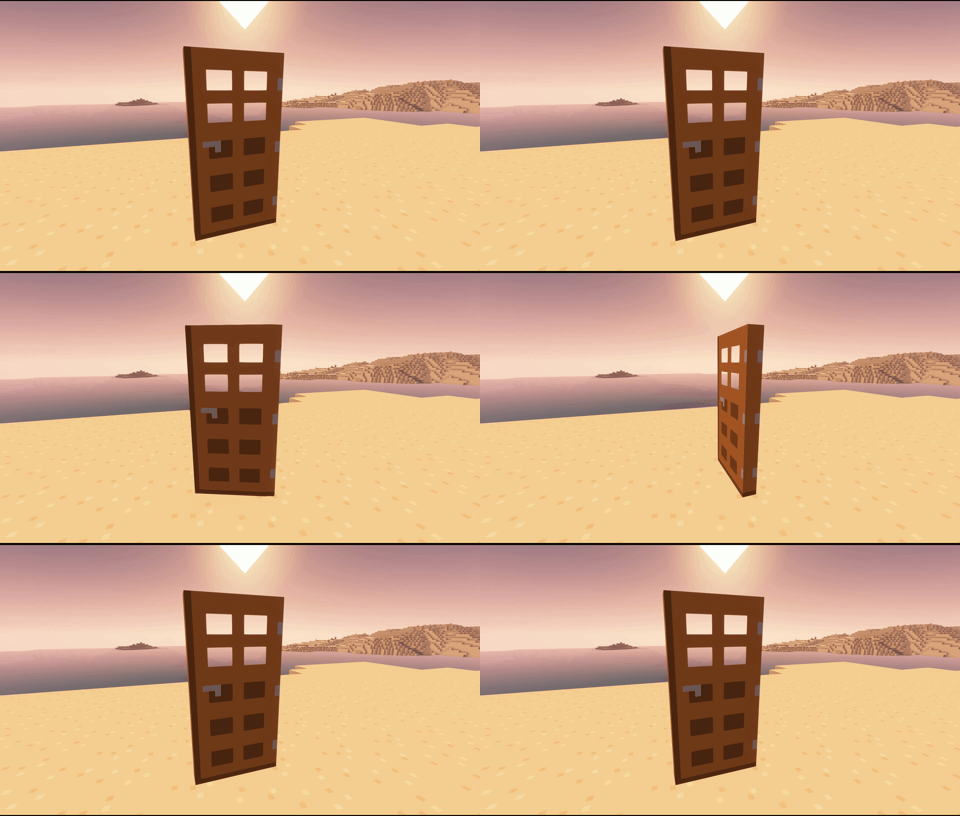
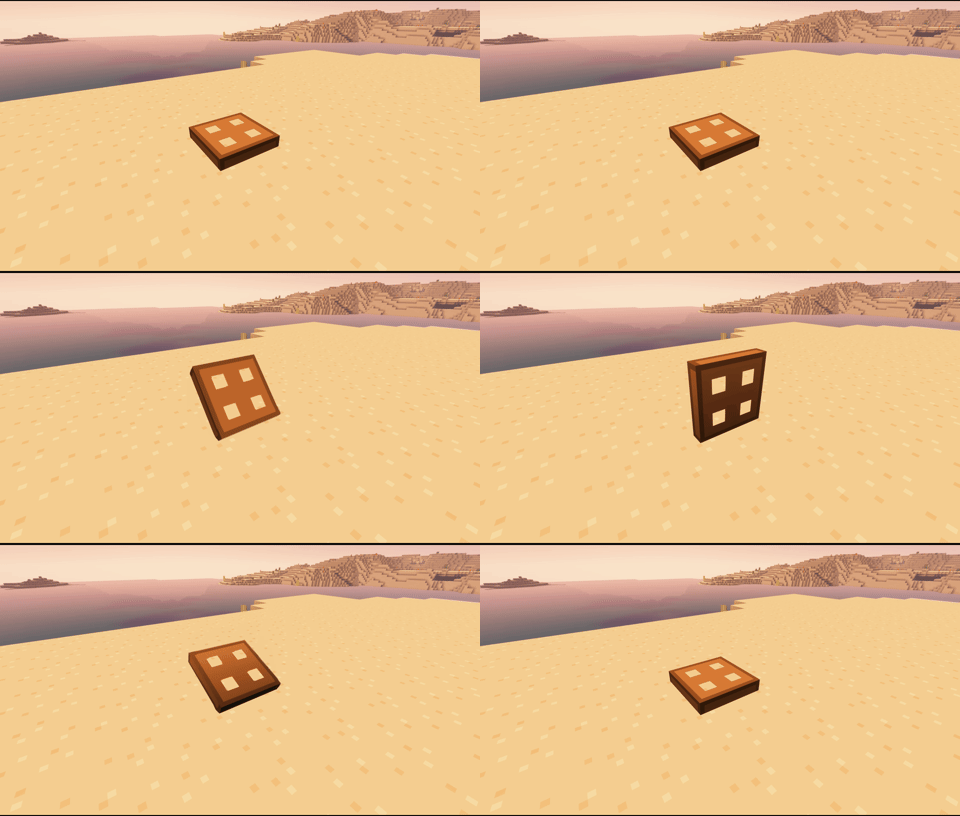
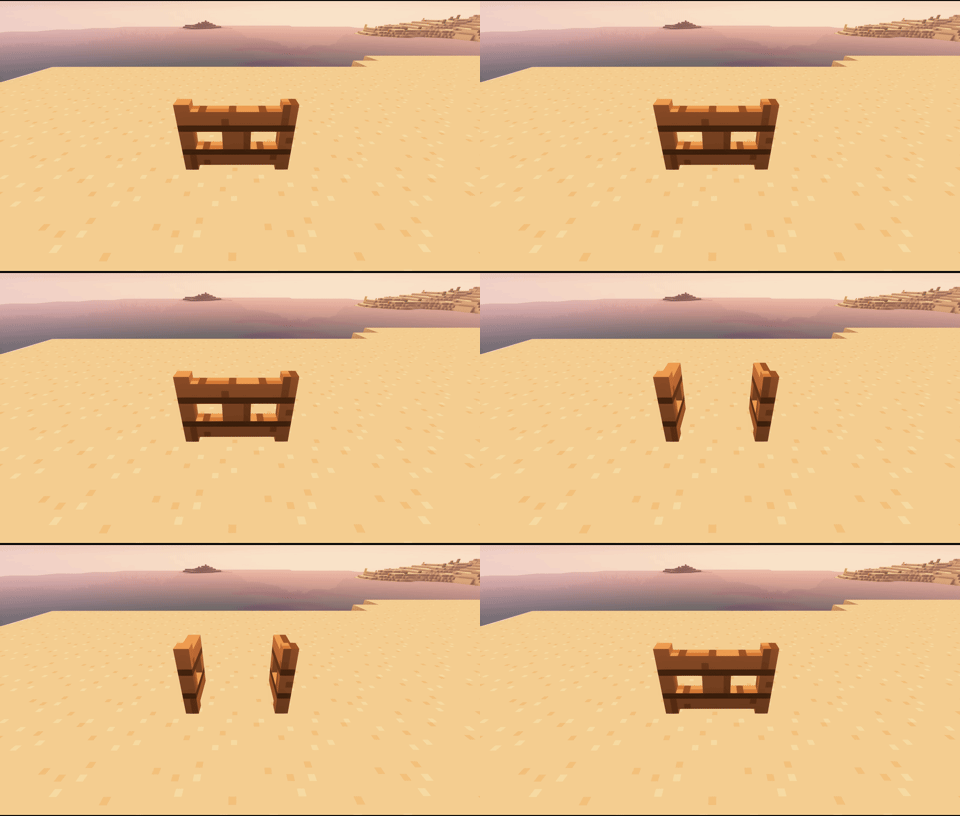
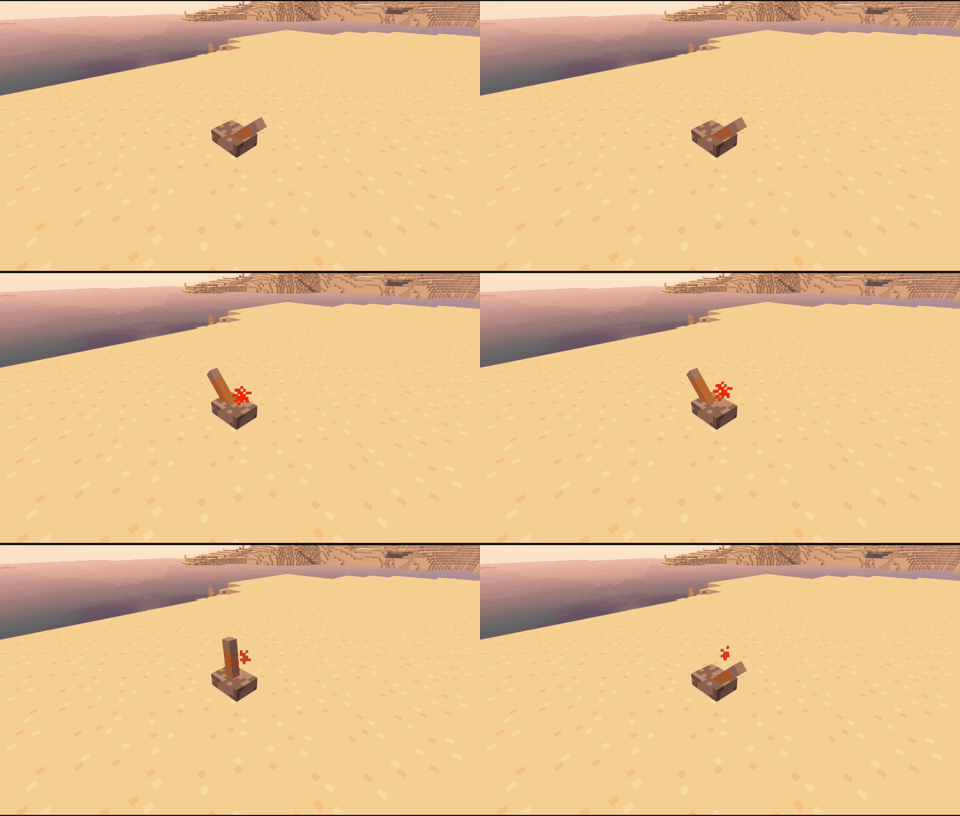
# Well Greased ## Adds Animations to doors, trapdoors, fence gates and lever! !(https://media.giphy.com/media/1HQuh4XH3C3BaTbChv/giphy.gif) !(https://media.giphy.com/media/Bzp7wLeVfNWk3c8exa/giphy.gif) !(https://media.giphy.com/media/UbOnwmqeLiDlmNgQAT/giphy.gif) !(https://media.giphy.com/media/F9CAtbxCOlh2bQH99g/giphy.gif) Works with redstone too! ## Resource Pack Friendly! For doors and trapdoors, everything is handled automatically. For the lever and fence gates, there are two possibilities: - If the resource pack doesn't change the vanilla models (only the textures), then you don't need to do anything. - If the resource pack changes the vanilla models, you'll have to create a resource pack as follows (under _assets/well_greased/models/block_): <details> <summary>Lever</summary> Basically, you'll have to separate the model to permit the animation of only the handle of the lever because the base is standing still. So one model for the base, one for the handle and one for the handle when the player has clicked on it. The following shows an example for the vanilla lever: **lever_base.json** : ```json { "ambientocclusion": false, "textures": { "base": "minecraft:block/cobblestone", "particle": "#base" }, "elements": , "to": , "faces": { "down": { "uv": , "texture": "#base", "cullface": "down" }, "up": { "uv": , "texture": "#base" }, "north": { "uv": , "texture": "#base" }, "south": { "uv": , "texture": "#base" }, "west": { "uv": , "texture": "#base" }, "east": { "uv": , "texture": "#base" } } } ] } ``` **lever_handle.json** : ```json { "ambientocclusion": false, "textures": { "lever": "minecraft:block/lever", "particle": "#lever" }, "elements": , "to": , "rotation": { "origin": , "axis": "x", "angle": -45 }, "faces": { "up": { "uv": , "texture": "#lever" }, "north": { "uv": , "texture": "#lever" }, "south": { "uv": , "texture": "#lever" }, "west": { "uv": , "texture": "#lever" }, "east": { "uv": , "texture": "#lever" } } } ] } ``` **lever_handle_on.json** : ```json { "ambientocclusion": false, "textures": { "lever": "minecraft:block/lever", "particle": "#lever" }, "elements": , "to": , "rotation": { "origin": , "axis": "x", "angle": 45 }, "faces": { "up": { "uv": , "texture": "#lever" }, "north": { "uv": , "texture": "#lever" }, "south": { "uv": , "texture": "#lever" }, "west": { "uv": , "texture": "#lever" }, "east": { "uv": , "texture": "#lever" } } } ] } ``` </details> <details> <summary>Fence Gate</summary> Basically, you'll have to separate the model to permit the animation of the left part and the right part of the fence gate separately. So 4 models for the left part (one close, one close next to a wall, one open and one open next to a wall) and 4 for the right part (one close, one close next to a wall, one open and one open next to a wall). The following shows an example for the vanilla oak fence gate (it's the same for other types of woods, replace just oak with your wood): **oak_fence_gate_left.json** : ```json { "textures": { "particle": "#texture" }, "elements": , "to": , "faces": { "north": {"uv": , "texture": "#texture"}, "east": {"uv": , "texture": "#texture"}, "south": {"uv": , "texture": "#texture"}, "west": {"uv": , "texture": "#texture", "cullface": "west"}, "up": {"uv": , "texture": "#texture"}, "down": {"uv": , "texture": "#texture"} } }, { "from": , "to": , "faces": { "north": {"uv": , "texture": "#texture"}, "south": {"uv": , "texture": "#texture"}, "west": {"uv": , "texture": "#texture"}, "up": {"uv": , "texture": "#texture"}, "down": {"uv": , "texture": "#texture"} } }, { "from": , "to": , "faces": { "north": {"uv": , "texture": "#texture"}, "south": {"uv": , "texture": "#texture"}, "up": {"uv": , "texture": "#texture"}, "down": {"uv": [10, 14, 14,
# Well Greased
## Adds Animations to doors, trapdoors, fence gates and lever!
!(https://media.giphy.com/media/1HQuh4XH3C3BaTbChv/giphy.gif)
!(https://media.giphy.com/media/Bzp7wLeVfNWk3c8exa/giphy.gif)
!(https://media.giphy.com/media/UbOnwmqeLiDlmNgQAT/giphy.gif)
!(https://media.giphy.com/media/F9CAtbxCOlh2bQH99g/giphy.gif)
Works with redstone too!
## Resource Pack Friendly!
For doors and trapdoors, everything is handled automatically. For the lever and fence gates, there are two possibilities: - If the resource pack doesn't change the vanilla models (only the textures), then you don't need to do anything. - If the resource pack changes the vanilla models, you'll have to create a resource pack as follows (under _assets/well_greased/models/block_):
Lever
Basically, you'll have to separate the model to permit the animation of only the handle of the lever because the base is standing still. So one model for the base, one for the handle and one for the handle when the player has clicked on it.
The following shows an example for the vanilla lever:
lever_base.json : ```json { "ambientocclusion": false, "textures": { "base": "minecraft:block/cobblestone", "particle": "#base" }, "elements": [ { "from": [ 5, -0. 02, 4 ], "to": [ 11, 2. 98, 12 ], "faces": { "down": { "uv": [ 5, 4, 11, 12 ], "texture": "#base", "cullface": "down" }, "up": { "uv": [ 5, 4, 11, 12 ], "texture": "#base" }, "north": { "uv": [ 5, 0, 11, 3 ], "texture": "#base" }, "south": { "uv": [ 5, 0, 11, 3 ], "texture": "#base" }, "west": { "uv": [ 4, 0, 12, 3 ], "texture": "#base" }, "east": { "uv": [ 4, 0, 12, 3 ], "texture": "#base" } } } ] } ```
lever_handle.json : ```json { "ambientocclusion": false, "textures": { "lever": "minecraft:block/lever", "particle": "#lever" }, "elements": [ { "from": [ 7, 1, 7 ], "to": [ 9, 11, 9 ], "rotation": { "origin": [ 8, 1, 8 ], "axis": "x", "angle": -45 }, "faces": { "up": { "uv": [ 7, 6, 9, 8 ], "texture": "#lever" }, "north": { "uv": [ 7, 6, 9, 16 ], "texture": "#lever" }, "south": { "uv": [ 7, 6, 9, 16 ], "texture": "#lever" }, "west": { "uv": [ 7, 6, 9, 16 ], "texture": "#lever" }, "east": { "uv": [ 7, 6, 9, 16 ], "texture": "#lever" } } } ] } ```
lever_handle_on.json : ```json { "ambientocclusion": false, "textures": { "lever": "minecraft:block/lever", "particle": "#lever" }, "elements": [ { "from": [ 7, 1, 7 ], "to": [ 9, 11, 9 ], "rotation": { "origin": [ 8, 1, 8 ], "axis": "x", "angle": 45 }, "faces": { "up": { "uv": [ 7, 6, 9, 8 ], "texture": "#lever" }, "north": { "uv": [ 7, 6, 9, 16 ], "texture": "#lever" }, "south": { "uv": [ 7, 6, 9, 16 ], "texture": "#lever" }, "west": { "uv": [ 7, 6, 9, 16 ], "texture": "#lever" }, "east": { "uv": [ 7, 6, 9, 16 ], "texture": "#lever" } } } ] } ```
Fence Gate
Basically, you'll have to separate the model to permit the animation of the left part and the right part of the fence gate separately. So 4 models for the left part (one close, one close next to a wall, one open and one open next to a wall) and 4 for the right part (one close, one close next to a wall, one open and one open next to a wall).
The following shows an example for the vanilla oak fence gate (it's the same for other types of woods, replace just oak with your wood):
oak_fence_gate_left.json : ```json { "textures": { "particle": "#texture" }, "elements": [ { "from": , "to": , "faces": { "north": {"uv": , "texture": "#texture"}, "east": {"uv": , "texture": "#texture"}, "south": {"uv": , "texture": "#texture"}, "west": {"uv": , "texture": "#texture", "cullface": "west"}, "up": {"uv": , "texture": "#texture"}, "down": {"uv": , "texture": "#texture"} } }, { "from": , "to": , "faces": { "north": {"uv": , "texture": "#texture"}, "south": {"uv": , "texture": "#texture"}, "west": {"uv": , "texture": "#texture"}, "up": {"uv": , "texture": "#texture"}, "down": {"uv": , "texture": "#texture"} } }, { "from": , "to": , "faces": { "north": {"uv": , "texture": "#texture"}, "south": {"uv": , "texture": "#texture"}, "up": {"uv": , "texture": "#texture"}, "down": {"uv": [10, 14, 14,
📊 Mod Details
- Game
- Minecraft Mods
- Author
- Gauraaaaaaaa
- Version
- 1.0.0-beta
- Downloads
- 493
- Endorsements
- 9
- Category
- decoration
- Created
- 11/26/2025
- Updated
- 11/25/2025
- Game Versions
- 1.21.4
- Tags
- decoration
🔧 How to Install Minecraft Mods Mods
Download from Modrinth. Use Prism Launcher or drop into your mods folder.
📖 Full step-by-step install guide for Minecraft Mods →
Visit the official mod page for specific installation instructions for this mod.
🎮 Need cheat codes or console commands? Check ur gaming wiki for Minecraft Mods commands, item IDs, and more.
❓ Frequently Asked Questions
Which Minecraft Mods versions does Well Greased support?
The author lists 1.21.4. Other versions may work but are untested by the author.
What is the latest version of Well Greased?
Version 1.0.0-beta, published 2025-11-25 with 493 downloads recorded at the source.
Keep browsing — more Minecraft Mods mods await